Wednesday, January 29, 2014

Window Pane Quilt

It is so cold here!  Looking for something to do inside I found this long forgotten project that I decided to finish!
 Using fabric I had in my stash I made a patchy binding.
 The quilting is simple but perfect for this quilt.
I don't remember the fabric line but it has a vintage vibe so I love it!  And it kept me from going stir crazy......
Diana

Saturday, January 25, 2014

Down The Rabbit Hole

Look what you can do with the Silhouette Cameo!
 I found a great blog called Scherenschnitte that is all about paper cutting.....by hand.....which I can not do but some of her designs lend themselves to the Silhouette.  She provides patterns of her easier designs (this wasn't one).  I used the trace function and a bit of editing to get a clean cut.  Here is how it turned out.
If you want a copy of the cut file leave a comment and I will email it to you.
Diana

Friday, January 24, 2014

More Silhouette Cards

Each of these cards are made from a cutting file from the Silhouette store.  No fuss cuz the designs are complete from sentiment to embellishments.  All you have to choose are the papers.


Diana

Thursday, January 23, 2014

Three Simple Cards Using The Silhouette

I finally got to put together some cards using my new Silhouette Cameo.  I love the flexibility of being able to create all the elements on the computer (read that as sitting on the couch) and then printing and cutting it.
This first card is using the print and cut function.  
 Simple card but perfect for a one year old boy.
 I love how easy this card was.  Everything but the framed dove was included in the cut file.
 It was fun getting back into a creative place after over a week of being laid up.  Hate that.
Diana

Wednesday, January 22, 2014

New Way To Add Yarn While Knitting NO KNOTS OR ENDS TO WEAVE IN

I was knitting this morning and just when I started making some real progress my yarn had a nasty knot in it.  Not the kind of knot where I tangled it but instead the kind where the manufacturer tied the end of one run to the beginning of the next one.  Drat!  Hate those.  
I hate having the knot show in my "perfect" knitting and I don't like how bulky it looks if I use the traditional method of adding yarn.   I had been toying with an idea for a while and now I decided put it to the test.  Get out your needle felting stuff and I will walk you through it.
First, start with the end of your yarn and the beginning of the yarn you want to add. 
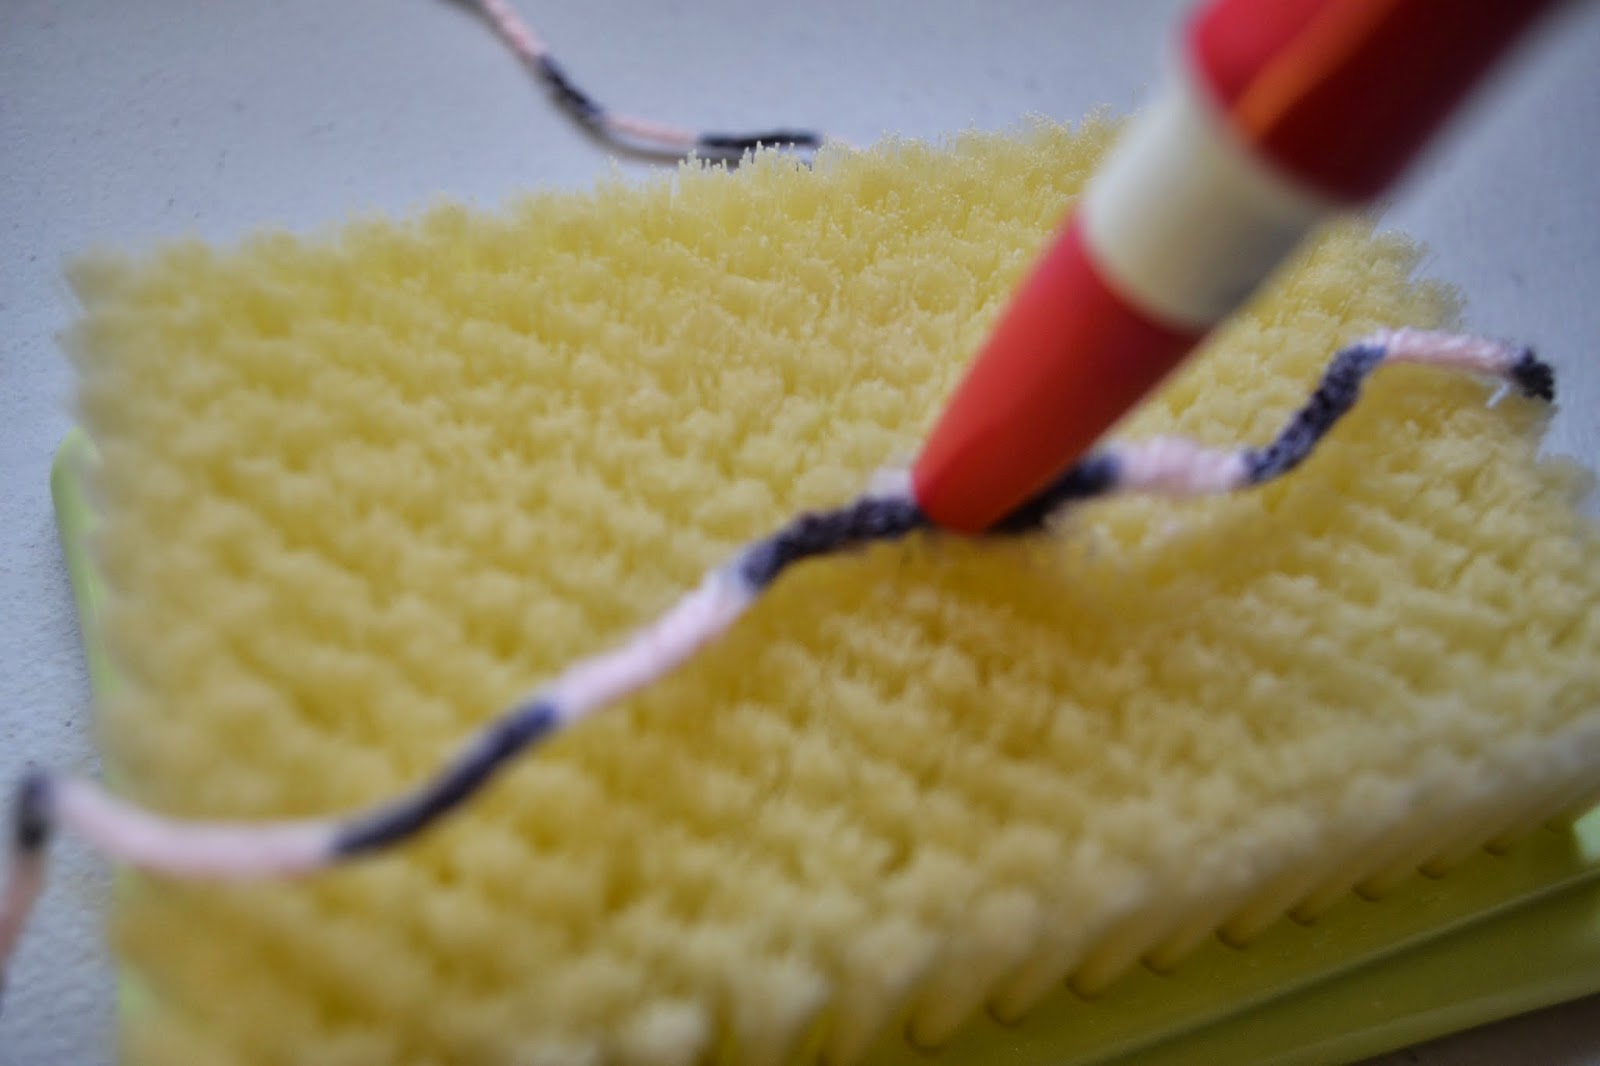
Overlap them about 1/2 inch and punch your needle felting pen into that area, rolling and punching about twenty times.
 It will look pretty funky but continue punching until you can not pull the yarns apart with a gentle tug.
Trim off any fuzz until the yarn is the same width as the rest.  That's it!  You can't even tell that you added yarn and you can't see it in your project.
I tested several different types of yarn......acrylics, blends, wool and straight cotton.  The only one it didn't work with was the 100 cotton (the kind that you make dish clothes with) because it wasn't fuzzy enough.  The needle just made a mess......see above.  Oh well......
I love this method and now I keep my needle felting stuff with my knitting basket for quick fixes.
Diana

Tuesday, January 7, 2014

Middle School Messenger Bag (Ipad Mini carrying case)

Abby (12) decided to use a pattern won in a giveaway from Schoolhouse Patterns to make her friends gifts this Christmas.  She and her friends are into the Zelda video games right now, and she chose to include some cross stitched images from the game to make the bag more personalized.  This pattern was super easy to follow and is a wonderful project for any beginning sewers out there.  We were even able to use scraps from our sewing stash to save us a trip to the store.

It even has a pocket to tuck a notepad, phone, or money.  Her little friend has gotten lots of use out of it as her new Ipad Mini is a perfect fit.

I can't wait to see what else she creates. I think I might even make a bag or two.