Thursday, February 27, 2014

Magic Cake

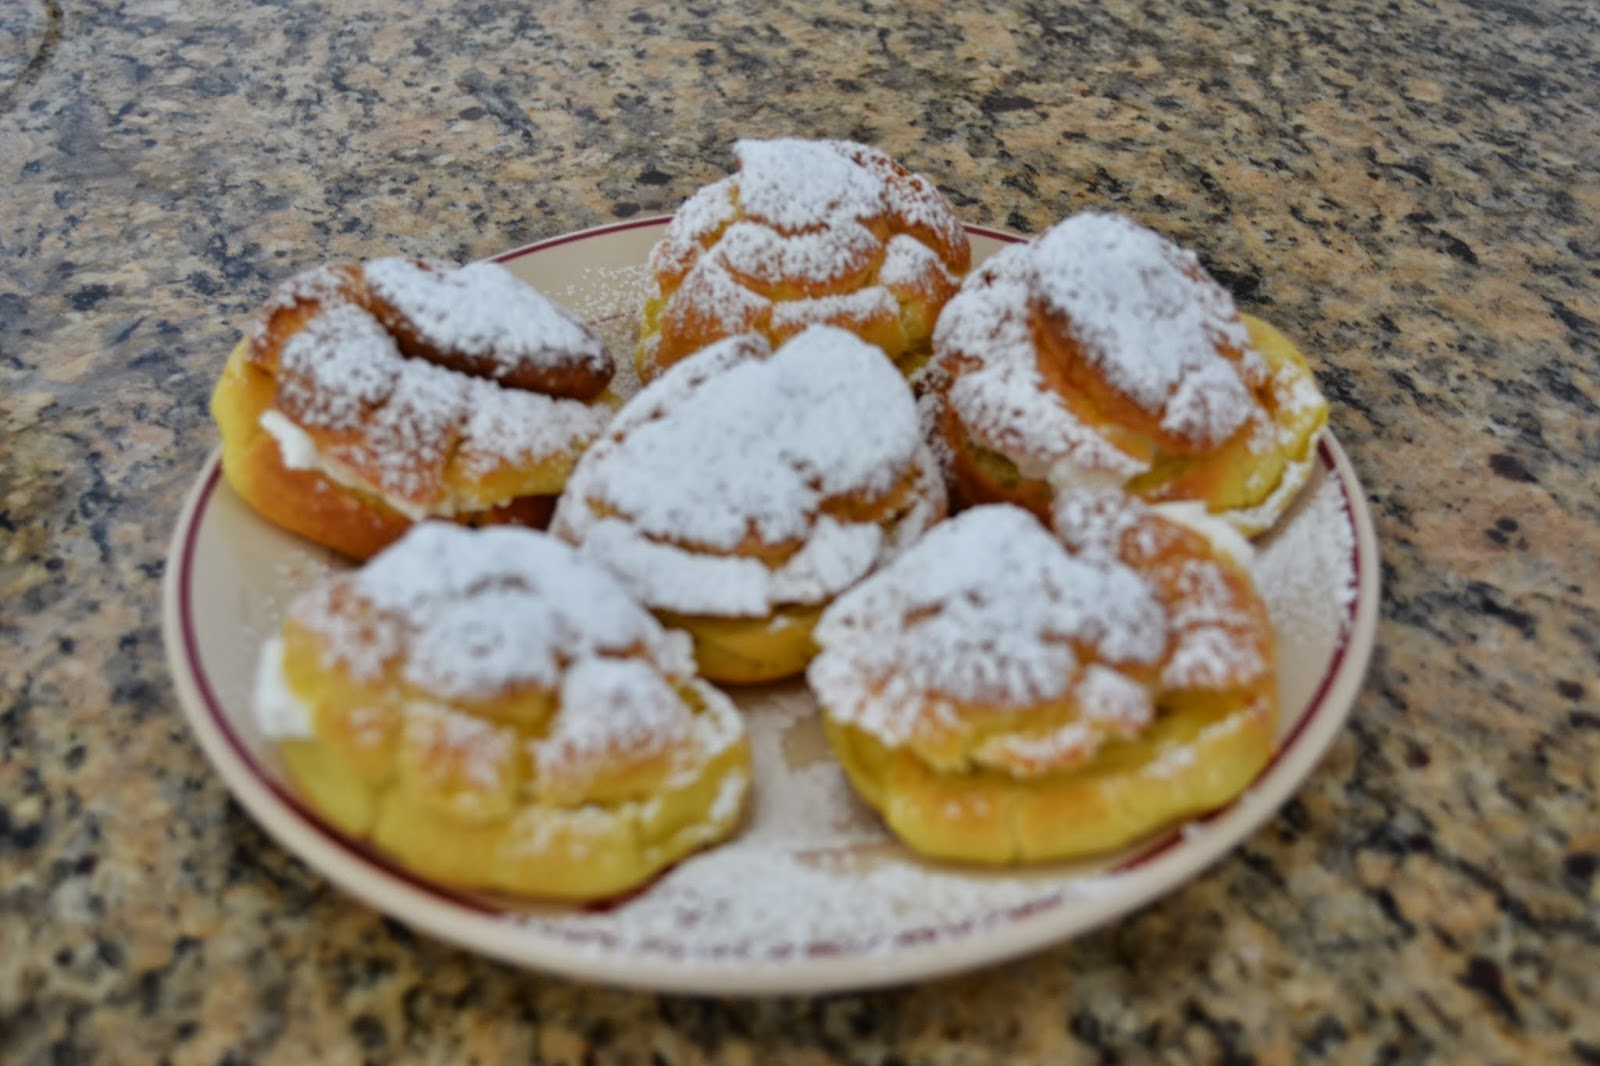
You have probably seen Magic Cake on pinterest.  The magic?  A three layer cake that forms in the baking process!  Soft cake, creamy custard and another layer of cake, all from one batter.  Had to try it!  So I found a recipe here and got out all the ingredients, and about 90 minutes later, I had a three layer dessert that was really good!  Truth be told, the bottom layer wasn't really cake like.  It was more like the bottom of a cream puff, but the custard and top cake layer were nicely formed.  The cake didn't have a crumb texture.  More like a very soft angel food cake.  Real spongy.  It wasn't real sweet, which was kind of nice.  I ate my first piece warm which was delicious.....like warm pudding!  It was pretty impressive looking too, especially since the powdered sugar covered up any crust issues (it torn a bit when I cut it).   
Ingredients
  • 4 eggs (separate yolks from whites) at room temperature
  • 1 tsp vanilla extract
  • 3/4 cup sugar
  • ½ cup butter, melted
  •  ¾ cup of all purpose flour
  • 2 cups lukewarm milk
  • powdered sugar for dusting cake (I use the non-melting sugar available from King Arthur's)
Instructions
  1. Preheat oven to 325 F degrees. Grease a 8 inch x 8 inch baking dish.
  2. Separate eggs and add the egg whites to a mixer and mix until egg whites are stiff. Place egg whites in a bowl and set aside.
  3. Beat the egg yolks with the sugar until light. Add butter and vanilla extract and continue beating for another minute or two after which you can add the flour and mix it in until fully incorporated.
  4. Slowly start adding the milk and beat until everything is well mixed together. (I think it looks pretty gross at this point but don't give up just yet) Add the egg whites, a third at a time and gently fold them in using a spatula, repeat until all egg whites are folded in. Another variation to folding in the egg whites would be to add a third of the egg whites and gently whisk them in to the cake batter, then reverse the process and add a bit of the cake mixture to the egg whites and gently whisk in, repeat until all cake batter has been whisked in. (I used the first method and ended up with tons of egg white clumps....might try second method next time)
  5. Pour batter into baking dish and bake for 40 to 70  minutes (the cake should look "set" and not jiggle too much) or until the top is lightly golden (? mine was pretty brown.....) The baking time could vary greatly depending on the oven, so take a peek at around 40 minutes and see how it looks.
  6. Sprinkle some powdered sugar after cake has cooled (or eat it warm like I did)
Jo Cooks has a chocolate and butterscotch version that look pretty darn good too!  

Wednesday, February 26, 2014

Dresden Plate Progress

I have decided to redecorate my sewing/guest room.  The yellow and red color scheme got old real fast.  I am going for a vintage yellow, blue and pink room instead.  That way I can use a lot of the things I have that won't fit in the vintage trailer due to it's limited space cozy size.  So the first thing I need is a new quilt for the bed.  A Dresden Plate has been on my wish list for a long time so I've decided to go for it.  Wish me luck!
 I got out a bunch of fabrics that looked good together and cut out 500 fan pieces using a template I got online.
 Then I chain sewed the pieces alone the wider end.  That took forever....next I pressed the seams to set then and pressed the folded edge to mark the center line.  That line came in real handy later.
 Next I turned them right side out.......
 with the cool tool that came with the Dresden Plate template.
I pressed it flat being careful to match the seam to the center line I mentioned earlier.
 I picked out 20 wedges for each plate, got them in a pleasing arrangement and started sewing them together.
 Being sure to start from the outer edge, I sewed towards the center.  That way if the pieces were a little off it won't matter since I will be covering the area with a circle.
  
 I pressed the seams open to reduce bulk.
Here is my first plate done.  I still have 24 more to go.  Then I have to make the centers, attach the plates to the background fabric and make the sashing.  I will be sending this one to a quilter due to it's size.  I just don't think I can squeeze the queen size quilt into my machine. Now back to the room.  I have started taking out some of the old decorations and am on the hunt for a few new things.  I really want a vintage 50's dress to go on my dress form......and maybe some new art for the walls.......hmmm.   Diana

Thursday, February 20, 2014

DIY Pinmoors Quilting Anchors

If you are a quilter you might recognize these objects.  They are Pinmoor quilting pin anchors and they are so great, but at about 19 bucks for 50 they are also pretty expensive.  Especially when you typically need 300 or more for a lap quilt.
 So it was time for an Internet search to see if there was a cheaper alternative.  Nothing out there!  But I did come across an idea some blogger had (sorry, I didn't save the site so I can't give her credit) to use poly foam caulk saver as a super cheap substitute.
  Costing less than 4 bucks for a 20 foot long roll, caulk saver can be found at Lowes and Home Depot.  From that roll I got 300 anchors.  The same number of Pinmoors would set you back about $114!  I just cut the roll into pieces (about 3/4 of an inch long) with regular scissors.  It is made from closed cell foam and does a good job of gripping the straight pin. 
Alright, now let's talk about the downside of the caulk foam version.  It comes in one color, gray, so pretty it is not.  Also the caulk foam is foam not silicone so obviously these will eventually breakdown, after maybe a hundred uses, so you will have to replace them at some point.  The Pinmoors will last forever.  The foam is also larger in diameter than the Pinmoors and I cut them longer than the Pinmoors.  Why longer?  The foam isn't as dense as silicone so the pins need that extra length to protect the point from going through and sticking me!  So.....they take up more storage space.   Final verdict?  For me, none of the above really bothers me so I am definitely going to put off buying more Pinmoors for now and give these a try.  If any of you try this idea let me know what you think.
Diana

Wednesday, February 12, 2014

Quick Valentines

Need some last minute Valentines that print up quick?  These are good for boys or girls and even have a bit of chocolate to please every little kid.  I copied this idea from Under A Cherry Tree but simplified it into a print and cut project.  You have to check hers out for a WOW moment.  You could make these with any robot clip art.  I used the pdf file that is included in the file I purchase from her store so I wouldn't have to do layers.  I then used the print and cut feature on my silhouette but you could just print them out with your printer and hand cut them out.  Either way they are super cute and quick.  Diana

Monday, February 10, 2014

Stabilized Whipped Cream in Cream Puffs

I love old fashion desserts, don't you?  And one of my favorites is cream puffs.  They look like snow covered mountains.  So easy to make and so impressive!  We make ours a little different from some.  I don't fill them with custard.  Instead I make up a batch of stabilized whipped cream and put a good size dollop in each puff.  Not only do they taste wonderful but they "seem" lighter......we aren't talking low calorie lighter here, just an" impression" of lighter.  But in my world that counts as diet food.

Cream Puff Shells

1/2 cup butter
1 cup water
1/4 tsp salt
1 cup flour
4 eggs.

Heat oven to 425 and line a baking sheet with parchment paper. Heat water and butter over medium heat in large saucepan to a rolling boil.  Stir in flour and salt until mixture forms a ball.  Transfer to large mixing bowl and beat in each egg individually with electric mixer.  Drop by large spoonfuls onto pan and bake for 20 to 25 minutes (smaller ones bake faster than large ones).  Allow to cool completely.

Stabilized Whipped Cream

1 tsp unflavored gelatin
4 tsp cold water
1 cup heavy whipping cream
1/2 cup powdered sugar

Dissolve gelatin in cold water.  Heat for about 20 seconds in the microwave, checking every 10 seconds or so, until gelatin is not gritty.  Allow to cool but not to set up.  Put whipping cream and sugar in mixing bowl and beat until thick.  Add gelatin mixture and whip until very thick and able to hold shape.  

Split cream puffs like you would cut a bagel.  Plop a nice dollop of stabilized whipped cream on bottom half and put top half back on.  Sift some powdered sugar over the top and serve.  Cream puffs with last several days in the fridge but don't sift sugar on top until right before you eat them.  And eat them you will!  You won't be able to stop yourself!  And remember you can eat tons because they are diet food.......
Diana


Friday, February 7, 2014

Wheat Bread.....Finally

Yum.  I have been trying for years to make a fluffy whole wheat bread from scratch that didn't look like a brick.  My friend Mary from Windy Meadows Farm had a link to a new (to me) blog that had a one rise recipe for wheat bread that I hoped would work for me.
The bread turned out beautiful and doesn't look at all like a brick!  Here is the link to Life in a Little Red Farmhouse and her great recipe.  Good luck!

Wednesday, February 5, 2014

Two Gift Card Holders

Bad bad day.  First I find out my debit card is on it's own spending spree.  Apparently it is shopping in Germany and Portugal having a grand ol' time.  Since we had to cancel my card that means NO ONLINE SHOPPING  for me!  Then it is a level 2 snow emergency so once again it is icy and cold.  And I am still in my PJ's at 11:00 am.  Wait, I think I kind of like that part......  Any way, I had to do something fun so the Silhouette was calling my name.
 Our church is having an auction to raise money for Girl's Camp so hubby and I are rounding up items to donate.  We will be giving one of my quilts and a couple of gift cards.  I needed to make cute holders for the cards and this is what I did.

I hope they make a ton of money for the girls!
Diana