Diana
Showing posts with label baby gifts. Show all posts
Monday, April 13, 2020
A Whale Of A Quilt
Thursday, October 3, 2019
Over The Moon Quilt
I have been working on this quilt for a while and am so glad to get it done. It is larger than I usually make lap or baby quilts so I had to have it quilted on a long arm at my local quilt shop. The pattern is cute and I used mostly 30's and 40's fabrics.
Saturday, June 29, 2019
Dark and Moody
Today I finished a lovely lap quilt. I started this one a number of months ago but had to put it aside while my mother was ill. She passed about 4 weeks ago from Alzheimer. It was a very difficult time for our family. I finally felt like picking it back up again a few days ago and it really helped me feel creative again.
The fabric is kind of dark and moody but also very pretty. I machine quilted it in an undulating wave pattern on my home machine.
The floral, solid and text patterned fabric feels a little modern to me as does the color pallet. I am really loving the overall grey tone.
It is on the large size for a baby blanket. More like a lap quilt. So I am not really sure who I will gift it to yet......
Diana
Wednesday, June 13, 2018
Baby Blanket
Maybe it is my skill level but not going to lie, this was a really difficult blanket to crochet.
Took FOREVER too.
It is a gift for a little girl I recently met. She is so sweet, I wanted to do something special for her.
It is kind of cool though.
Diana
Saturday, July 8, 2017
Baby Boy Quilt
Just finished a quilt for a newborn baby boy out in California. This was an easy quilt to piece as you can see. Went together very quickly. I think the colors are pretty cool and neutral enough for the little guy.
This was my first attempt at edge to edge machine quilting on my embroidery machine. Because my biggest hoop is 5x7 it took a lot of time and 64 hoops to complete the quilting. Love the finished look but it was soooo time consuming.
Glad to be finally finished with it and now off this quilt goes across the country to it's new owner!
Diana
Thursday, January 28, 2016
Embroidery Buddies!
I just finished machine embroidering some sweet little blankets for two of my nursery children at church. They are turning three next week and I thought a personalized snuggle blanket would be just the right gift from their teacher.
I got the blankets from Country Club Embroidery Blanks face book shop. They are very reasonably priced and they ship quickly. The quality is very good too! And if you purchase from her there are free embroidery designs to match the stuff toys.
The lamb is for a little girl and the puppy for a boy.
The designs stitch up nicely too.
I have already ordered more buddies for upcoming birthdays! Don't want to run out and disappoint one of my little ones.....
Diana
Friday, October 23, 2015
Another Baby Quilt Heading For China
Another of my husband's secretaries is expecting a baby! And since this is his last trip to China (he is retiring early!!!!!) I needed to rush and make a baby quilt as quickly as possible.
Nothing is faster than a strip quilt and it goes even quicker when you use a jelly roll to make it. Even though it took a little more effort, I decided to round the corners and piece a section of the back.
The muted palette of greens and browns looks so pretty and should work for a boy or girl.
I machine quilted it in simple swirls.
The most time consuming part was figuring out why my thread kept breaking (dull needle) and hand sewing the binding. I was about to lose my mind trying to resolve the thread issue. Of course it is always something you should have thought of right away but somehow never do. Thanks to my local quilt shop for giving me some support and not laughing at my duh moment!
Hope Belinda and baby enjoy the gift!
Diana
Friday, April 24, 2015
Very Sweet Bibs
Can you believe I have never made a bib before? Been sewing my whole life but this simple project has never been on my to do list......until my husband asked me to make some for a coworker's new baby in China. Normally I would make a quilt for the occasion but it is soooo hot in China right now he thought a quilt would go unused. So some bibs it was.
I had a lot of much fun making these. I got the pattern online here.
I used fabric instead of terry cloth on the back.
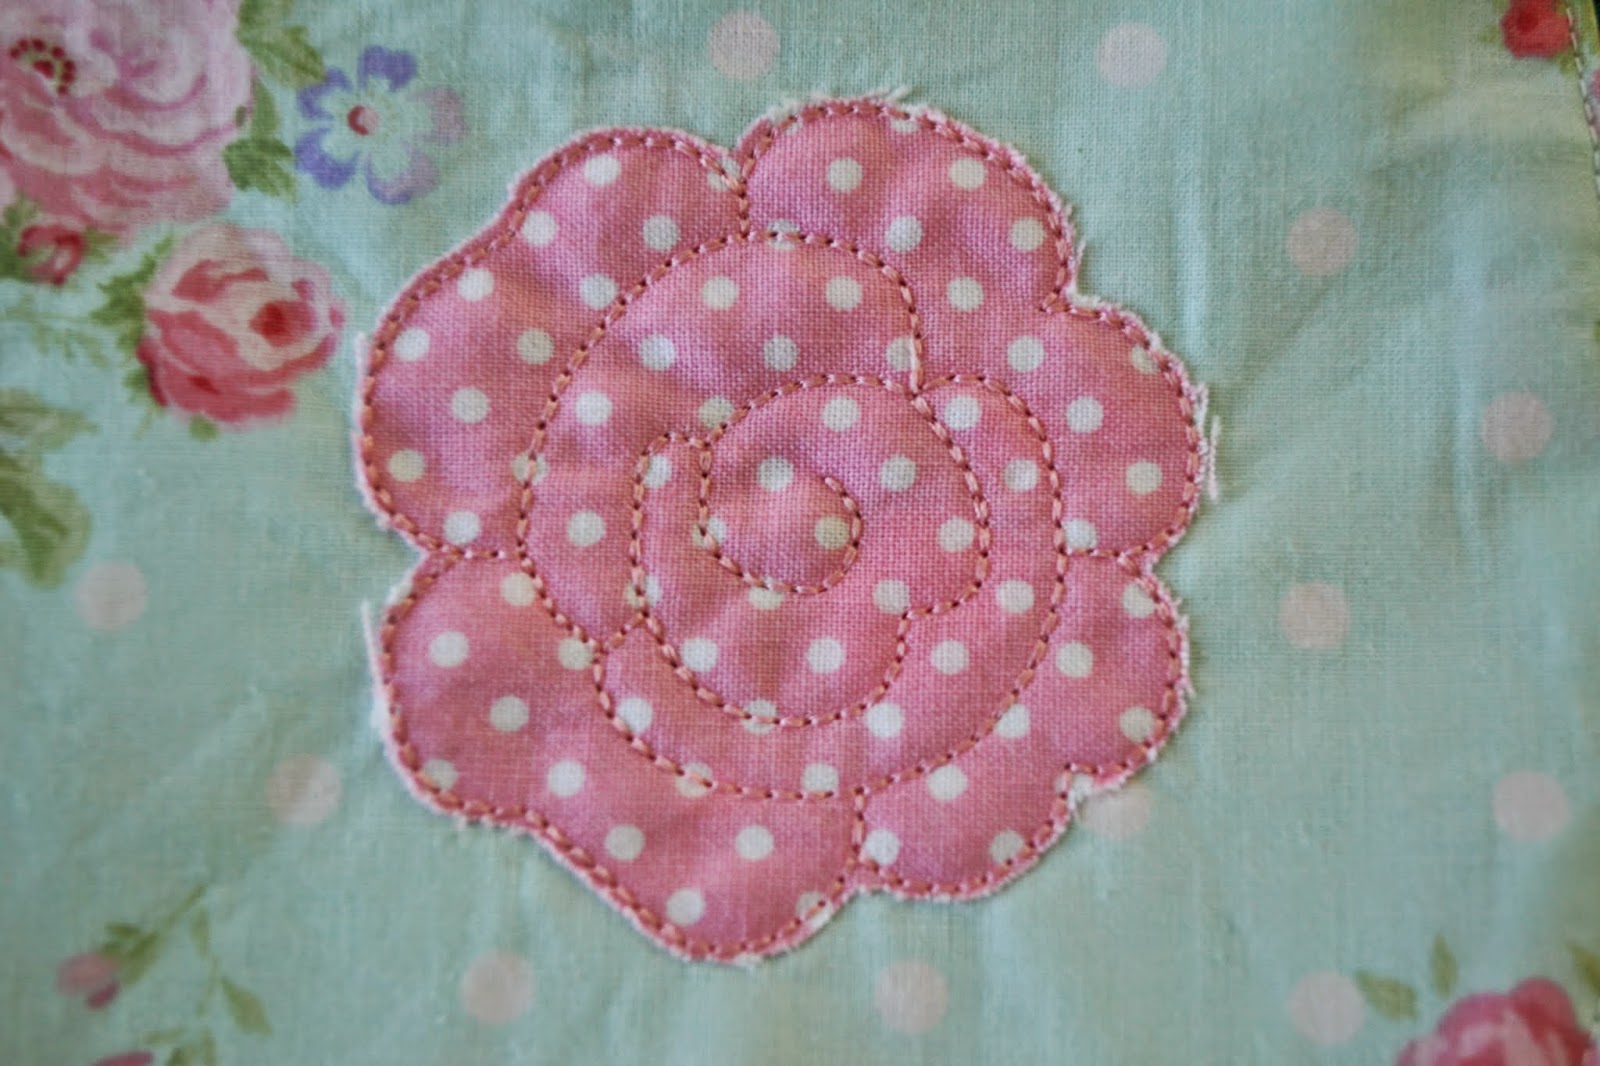
Machine appliqued "shabby" style. That means I left raw edges......kind of like "country" style potatoes means I don't take the time to peel them.
A little ric rac and some snaps were all the notions needed to complete these adorable bibs. And in a few days these will be on there way to China and a sweet little baby girl.
Diana
Monday, May 12, 2014
Jungle Tumbler Quilt
Talk about cheerful colors! I used fabrics that had a jungle theme and were very bright. This quilt will be wrapped around a precious baby boy that my little friend is due to have any day now.
I have never tried tumbling blocks before but was pleasantly surprised to find they went together very easily. I cut a template out of thin cardboard and used it, along with a plastic ruler to cut out the blocks. They sew together in horizontal rows. Those rows' seams are then press in alternating directions, first row to the right, next to the left and so on. This allows them to "sandwich" together when the rows are sewn. You get such nice points that way!
They hardest part was laying out the blocks!
I machined quilted both sides of each seam. The binding is hand sewn on.
The back is strip pieced with fabric I had left over from the blocks! I really liked doing it that way.
Hope the little guy loves it as much as I do.
Diana
Sunday, December 8, 2013
Sweet Treats Quilt
Just finished a sweet little quilt yesterday using some fabric I bought a while ago.......most of the fabric is from Delicious Wishes by Jana Nielson of Izzy & Ivy for Henry Glass Fabrics and looks good enough to eat!
The fabric line has a panel of framed desserts and fruit that can be cut into squares.
I framed each square in a green fabric with red on each corner.
The binding is in the same red and is hand sewn.
I machined quilted in a swirly pattern on my regular sewing machine. It is so fun to see how much I can push myself with new designs like this. It helped that the quilt was small and easy to work with. I wouldn't try this swirly design on something much larger. I am not sure if this is a baby quilt or wall hanging.......I think it might even end up as a table topper. It would look sweet on a dessert table loaded with goodies!
Diana
Tuesday, July 9, 2013
Baby Quilt Made It To China!
Poor little guy, it has to be in the high 90's in China right now! But his mother wanted me to see him "enjoying" his new quilt.
Well, I am glad that the quilt I made found it's way to it's new little owner. To see the quilt go here. My husband's coworker sent us this picture as a thank you for the quilt. It is hard to believe something I made is being loved half way around the world!
Diana
Friday, May 31, 2013
Baby Boy Jungle Quilt
What do you all think of this baby boy quilt? Would you believe it is made from the same square as the pinwheel quilts seen here and here! The tutorial for the magic square cutting and construction is shown here. 

If you look real close you can see the basic square used to make all three quilts.
Made from charms and layer cake cuts, this quilt goes together quickly and I loooove the colors for a boy.
Diana
Tuesday, May 21, 2013
Pinwheel Baby Quilt
Here is the finished baby quilt I pieced using the tutorial from this previous post. It went together quickly, days ago in fact, but I was too busy with outside chores to post it! The garden needed to be tidied up and the fields were getting overgrown! Now that I have made some headway with the yard work I can spend some time on the blog too.......

I haven't someone in mind for this baby quilt yet but it can join the pile that is rapidly growing in the sewing room. I sometimes have a hard time letting them go. I love them all so much. Greedy, I know.......
The photo is a little off on the colors. It is much brighter in person.
I machined quilted on my regular sewing machine. I am gaining confidence and the more I do the better they turn out. Which is good cuz a longarm does not appear to be in my future anytime soon...... I quilted a wind like pattern with swirls and gusts (humor me) blowing across the quilt. How else would you quilt a pinwheel baby quilt? Check back later for another "windy" quilt.
Diana
Saturday, May 4, 2013
Magic Square Pinwheel and More......
Today I am going to show you how to make a pinwheel square using a four patch square and the magic square cutting method shown here. When I discovered magic square cutting it seriously changed my life! Check out my earlier quilt, a simple half square triangle one, constucted using magic square.


You will be amazed at how quickly this square comes together. Start out with a stack of charms in two colors. You will need four of each color for each finished block. Well you actually end up with two finished blocks. More on that later. If you are cutting your own charms, you will cut them as 5 inch squares. You will be repeating each step twice ( or more, depending on how many blocks you will be making).

Sew opposite color squares together, two by two,
Press seams towards the darker fabric, in this case, the red.
Now arrange the pairs to form a four patch.
Sandwich the seams and sew the long seam on the four patch.
Press towards one side. You now have a four patch. Actually, you should have two four patches.
Now comes the magic. Cut two squares of fabric 9 1/2 inch square. You can use a layer cake but just cut it down.
Layer one four patch on a 9 1/2 inch square, right sides together.
Sew 1/4 inch seam on outer edge on all four sides. Think of this as a pillow construction without the hole for turning. That's right, close this guy up! If you are having trouble understanding, view the video link at the beginning of this post.
Here is a close up of one corner.
Now that all the edges are sewn it is time make the diagonal cuts. Using a rotary cutter and ruler, align the ruler so the stitch lines of the four patch are centered on the edge of the ruler corner to corner and in the center.
Forgive the shadow but maybe this will be easier to see. You will be tempted to want to line the ruler to bisect the square based on seam allowances instead of the stitch lines. NO, NO, NO. Since the seam allowances are ironed in different directions, they create an optical illusion. Use the stitch lines to bisect the square.
Make the second cut and you should end up with something like this. Repeat for each additional square you have sewn.
Open up each section and iron the seam in one direction. Because the cuts are on the bias, you will want to be careful not to stretch the square during ironing.
Now arrange the squares to form a pinwheel. You will now see why you needed to make at least two magic squares. If you are confused about what I am talking about notice that some of your pinwheel blow to the right and some blow to the left. Aha!
Sew your pinwheels together, matching seams. Because this is bias sewing, it is so easy to force the seams to line up!
In quilting you always iron your seams to the darker fabric. Here is one of the exceptions to the rule. Because of the bulk that would create in the center of the pinwheel, you will iron the final seam open.
This will allow the seam to lay flat on the finished side.
Here is the finished block. It has taken longer for you to read this post that to actually sew this block!
Two variations using the same pieces.
Block with blue center and red edge.
Block with red center and blue edge. This is the combination I have chosen to make the quilt. Well, actually two quilts, each blowing a different direction. More on that later. You can also use the squares to make blocks other than pinwheels. But that is another post! Diana
Subscribe to:
Posts (Atom)