Showing posts with label candy. Show all posts

Monday, May 20, 2019

Payday Candy Bar Copycat

I have been looking for a copycat recipe for Payday candy bars forever.  I have tried a few and had some pretty awful results.  Think big pan of runny stuff that never hardened into anything you could cut into bars.  But I have finally found one that turned out beautifully.  Jennifer from Bake or Break has a great recipe that I am gobbling up as we speak.  
Plently of nuts and a sweet salty nugget center that holds it shape pretty well.  So yummy.
Diana

Monday, February 27, 2017

Dainty Dollies for Cocoa


They say there is nothing new under the sun but I beg to differ!  Who is the genius who came up with delicate sugar dollies for your cocoa!
I first saw these on etsy and knew I had to have them.  But at aprox. $20+ a dozen, I felt like I couldn't indulge my new obsession.  However, if I could make them myself maybe.......So here is where utube comes in.  A few videos later and an amazon box on my doorstep and I was ready to go.  The mix is a dream to work with and the 7 oz container looks like it will last me a LONG time.  I made a small batch that filled the two molds twice.  Once dried the dollies can be stored in a zip lock bag forever.  They are soft and flexible, not dry and brittle like I imagined them to be.  Really just lovely.
Here is one of the prettiest ones.  The mold has a variety of different dollies including a heart, butterfly, some bows and a number of traditional shapes like the ones I've shown.
Here is one in my hand so you can get an idea of the size of the largest ones.  Now let's talk cost.  For about what a dozen dollies would have cost me with shipping included I was about to get all the supplies for just a little more money.  But I can make hundreds of these little guys with the supplies I've got.  Think how cute these would be for a baby shower or cookie exchange!  I even included a few dollies with some cocoa mix and other goodies in a basket to be auctioned off for a charity. 
These would look great on cookies or cupcakes too.  I have now ordered some larger molds (on sale) to try out on some cakes.
You can get the mix HERE and the mold HERE.

Tuesday, April 26, 2016

Sees Copycat Bordeaux Chocolates

Have you ever tried Sees Chocolates?  For those of you on the west coast that probably sounds like a dumb question but since moving to the Ohio Valley I have been shocked at how few people have even heard of Sees!  Thank goodness we now have one in Columbus so I can enjoy them anytime I want.....well almost anytime I want since it is a one hour drive to the mall.  But for those times I can't wait I've found a wonderful recipe from Love & Turquoise that produces a "close enough" chocolate.
I did tweak the recipe a little.  First I used Guittard chocolate because that is the brand Sees uses.  I also tempered my chocolate.  I have a tempering machine but you can do it the manual way if you like.  I also added a little more powdered sugar than her recipe called for because my centers were not thick enough.  Lastly I used real chocolate sprinkles-definitely not the kind you get at the grocery store!  I get mine from a online dutch company.   You can also get them from Amazon.  Once you taste these sprinkles you will never eat the American version again, I promise.  Oh, and I left out the coffee.  Mormon.
 So how did they taste?  At first I was a little disappointed (like right after they had set up).  The centers were just not quite creamy enough.  But this morning (don't judge me, it was in the name of quality control!) I ate one and it was sooooooo good.  Okay, so I had to eat another one to make sure I had a large enough control group.  
 Creamy and delicious!  Best Chocolate ever.  If fact it was so good I pack up most of them to give as gifts and sent them with my husband to deliver!   
We are having quests for dinner tonight so I held a few back to set at each place setting.  And there might be a few more tucked away in my secret place for myself.  Don't tell anyone okay?
Diana

Friday, February 26, 2016

Neuhaus Copy Cat Chocolate

One good thing (or bad, depending on on how much self control you have) about having a husband that travels is the assortment of chocolates he would bring home from around the world.  My favorite was Neuhaus from Belgium.  And.....my favorite piece was a whipped truffle in a foil cone called the Cornet Dore.  BEST CHOCOLATE EVER!  Light and fluffy with a lovely crust of sugar.....yummmmm
My husband has since retired and that means no more Neuhaus.......but I have started making my own truffles and other goodies as my skill level improves.  Today I decided to try and duplicate the Cornet Dore, at least in texture and taste, by making a whipped truffle.  
Start by melting 8 ounces of milk chocolate in ,gasp, the microwave.....do it gently so as not to burn the chocolate.  Now scald 1/2 cup of heavy cream.  Bring the temperature down to about 160 and mix into the chocolate, stirring until fully incorporated.  Now set the bowl of chocolate at room temperature for about 3 hours.  Using an electric mixer, beat the chocolate until light and fluffy AND until the mixture can hold it shape.  Spoon chocolate into a pastry tube with a large star tip and pipe stars onto wax paper.  Decorate with sugar crystals and let set until solid.  That's all there is to it!
The chocolate could be piped into foil cups or cones if desired.
These taste wonderful!  Just like my beloved Neuhaus!
Diana

Wednesday, August 19, 2015

Raspberry Truffles

I wanted to try out my new tempering machine and make some raspberry truffles.  These truffles were very flavorful because they use real raspberry puree instead of artificial flavoring.  So yummy. 
There is no cream in the recipe either.  I got it from  Couldn't Be Parve but I adapted it to a bit.
 Here is my tempering machine!  I selected the dark chocolate setting and melted about 1 pound of untempered chocolate.  More than enough for covering the truffle centers.  I only needed tempered chocolate for dipping, not for the centers themselves.  Those I could use untempered chocolate in. 
 On the left you can see the unmelted chocolate and on the right of the baffle you can see the melted chocolate.
 It can take a bit of time to melt the chocolate so while it did it's job I made the centers.
 First I made the puree, heated it and added it to the chocolate.  Using a small ice cream scoop I shaped the centers. (adapted recipe is at the bottom of this post)
Once they chilled a bit I formed them into spheres.
 Back to the tempering.  After the machine melted the chocolate I added the seed chocolate.  In this photo the clear lid is on.
 Here is a photo with the lid off.  Use large pieces of seed chocolate so it will be easier to remove any unmelted pieces after the tempering cycle is completed.  Once that beep sounds you remove any of the seed chocolate chunks.  Now all your chocolate is tempered and ready to use.  It will have a beautiful shine, snap and will harden quickly.
 Scooping a few tablespoons of tempered chocolate into the palm of my plastic gloved hand,  I rolled the truffle centers until fully covered.  I let them solid up on wax paper.  Once set I smeared a little melted chocolate on the top of each one and sprinkled jimmies on top.
 Because the chocolate was tempered and kept in temper, I was able to save the leftover for seed chocolate for my next batch!
 Next time I think I will double dip the chocolates.....some of my truffles had weeping issues.  But they were delicious.  The first day the centers were a little grainy but the second day they were much creamier.

Raspberry truffles

6.5 oz chocolate
1/2 cup raspberry puree (see below for recipe)
1 oz (2 tbs) vegetable oil
Mix raspberry puree with vegetable oil.  Heat it microwave until almost boiling.  Pour over chopped chocolate and stir until chocolate is melted.  Mixture will begin to thicken.  Chill until firm enough to scoop.

Raspberry puree
12 oz raspberries, fresh or frozen (defrosted if frozen)
Blend raspberries in a food processor or blender until pureed. Strain through a fine mesh sieve, using a spoon to press as much of the puree through as possible. Discard solids.  This will make more than you will need in this recipe.  Store any extra in the freezer.
Diana

Wednesday, May 13, 2015

Chocolate Covered Cherries

Every year at Christmas time I can't wait for the Cordial Cherries to appear on the store shelves.  LOVE THEM
I think they taste so good because they are only available a few short months out of the year.  I have tried to make them before but I could never get the centers to liquefy.  Even after a couple of weeks thay sill were solid inside.  Delicious but solid.  I didn't give up and I finally learned the secret---invertase!
 But before we go there, what do you think of the cute little birdcage I packaged the chocolates in?
Adorable, right?
 OK back to the candy.....I found a great recipe here.   It listed invertase as an ingredient.  Wow, never heard of that before.  I googled it and found out it was what made the centers turn to liquid, was available on line and best of all was cheap.
 So a few clicks and two days later I had the invertase enzyme in my hot little hands and was ready to go.
The recipe was easy, and a lot of fun to make.  I have checked the candy every day and by the second day I had significant liquid.  Did I mention how I tested them.  You better believe I ate them!  I mean, I had to, right?  So now I can have these yummy treat all year long.  Yippee!
Diana

Wednesday, April 15, 2015

Chocolate Covered Jelly Sticks

Third attempt the charm!  At least when it comes to this yummy candy.
While these aren't exactly like the delicious candy you can buy at the store. they come pretty close.
I tried two other recipes. neither of which worked very well.  One came out two runny and the other was so chewy it was inedible.  Both were a lot of work too.  Big disappointment.  Finally I went with the easiest recipe that appeared here on Utube.  It worked and took no time at all.  I used raspberry jello cuz that's my favorite.  I poured the liquid into a silicone mold for water bottle ice cubes.
 Well. the gummy part took no time at all but dipping them in chocolate. not so easy.  Those little buggers were slippery and floppy.  What a mess.  But once they were covered in chocolate I drizzled a little more chocolate on top to make it look deliberate.  Ta-da!  Fancy looking candies! 
What would I do differently......add a little raspberry flavoring to increase the intensity of the raspberry jello!!!!  I had also made some gummies in a heart mold and I wouldn't do that again.  Too difficult to hold on to for dipping in chocolate.  Kept falling off the dipping fork and back into the chocolate.  Over and over again til I just gave up and grabbed them out with my hands.  Chocolate everywhere.  EVERYWHERE!  And the finished product?  Not pretty enough to appear on the blog so you got to take my work for it.  Stick with the sticks.
Diana

Thursday, April 9, 2015

Pin Win Chocolate Eggs With Cheesecake Filling

Pin win!  I tried these adorable cheesecake filled chocolate eggs I found on Pinterest  and they turned out perfect!
 The pin was from raspberri cupcakes and with a few adjustments I was proud to put these on the Easter table.
 First of all I couldn't find premade hollow chocolate eggs so I had to make my own.  No mold-no problem.  I just worked with a half egg mold I had.....I would love to show how I did it for you but apparently cheap molds shouldn't go in the dish washer.....who knew!  Let's just hope you can find a 3D egg mold so you can have an easier time.  I trimmed off that ridge of chocolate to get a smooth joint.
 raspberri cupcakes' cheesecake recipe was delicious but instead of the passion fruit yolk she used, I made up a batch of lemon curd.  Dyed it a deep orange to more resemble a rich yolk.  Also I piped in the fillings instead of using a spoon to shove it in.  
One other adjustment.  I made my eggs freestanding by putting a blob of melted chocolate on wax paper and setting an egg on each blob.  You have to hold them steady for a bit but it worked out great.  If you have enough egg cups you could avoid this step.  Pretty impressive huh.  Kind of like a Cadsbury egg!  But much more delicious.
Diana

Wednesday, March 18, 2015

Old Fashion Ice Cube Chocolates' Recipe

Do you remember Ice Cubes?  They were delicious!  So creamy.....and they melted in your mouth as soon as you put them on your tongue (and on your fingers if you handled them too much!).  I recently found them at a candy store in California while visiting my son's family and I have been obsessing about them ever since.  So I did some Internet research to find out what to add to the chocolate to get it to that wonderful "melt in your mouth" condition.
I found out that the secret ingredient was probably coconut oil.  It has a low melting point, 97–104 °F, which allows it to melt very quickly when it is put in your mouth.  But what ratio of chocolate to coconut oil?  I then found this recipe for homemade Hard Shell.  You know that cool chocolate stuff that goes on the ice cream in liquid form and then magically becomes a hard lovely shell.  Could this work in reverse?  Maybe if I tweaked it a little.
 So this is what you need......2 parts good chocolate to one part coconut oil.  (I used 2 ounces chocolate and 1 ounce coconut oil).  
  Melt the chocolate and coconut oil over a pot of steaming (not boiling) hot water.....remember not to get any steam or water in the chocolate or disaster will follow!  Stir constantly and remove from heat when chocolate is almost melted.  Continue stirring until chocolate is completely melted.
 I poured the liquid chocolate into this cute tiny pitcher!  The chocolate will seem very thin but don't worry, that is how you want it.
 Carefully pour chocolate into molds that are about one inch in diameter.  Let set in freezer until very firm.
 Pop chocolates out of molds onto wax paper.  They should come out easily.  If they don't, put them back into the freezer and try again.
This mold makes the classic shape of the candy....well. almost. 
 Handling as little as possible, (the warmth from your hands will quickly melt the candies) wrap them in some pretty foil
 Soooo, the big question is how these homemade ice cubes measure up to the real thing.  
1. They melt beautifully once you put one on your tongue..yippee!
2. The flavor is delicious using the dark chocolate but I think milk chocolate would be closer to the original.  But can you imagine if you added a little mint oil to the dark chocolate version?  Kill me now cuz I'm in heaven!
So my verdict is that these are so close to the store bought ones I don't notice a difference, except these have a more intense chocolate flavor.  Next time I'll give milk chocolate a try.....
Diana

Wednesday, February 12, 2014

Quick Valentines

Need some last minute Valentines that print up quick?  These are good for boys or girls and even have a bit of chocolate to please every little kid.  I copied this idea from Under A Cherry Tree but simplified it into a print and cut project.  You have to check hers out for a WOW moment.  You could make these with any robot clip art.  I used the pdf file that is included in the file I purchase from her store so I wouldn't have to do layers.  I then used the print and cut feature on my silhouette but you could just print them out with your printer and hand cut them out.  Either way they are super cute and quick.  Diana

Tuesday, December 17, 2013

Using Peppermint Spoons to Make a Mold

I found the cutest peppermint spoons (Wiltons) for hot chocolate a few days ago.  I bought two boxes, one to give to a friend and one for us!  They were sooooo cute I thought I would use one spoon to make a mold so I could enjoy even more spoons!  Chocolate spoons, hard candy spoons, the possibilities are almost endless. 
 I used a food safe molding compound, followed the directions and within a few minutes I was able to press the spoon into the putty.  Be sure and mold the putty on the detailed side of the spoon.
 I waited a half an hour (got busy with something else and forgot about the mold.....oops) and then easily got the spoon out.  Now I have a mold that I can use when I have a need for an edible spoon--yippee!
This is the putty I use!  It is so great I always have a bit of it on hand......call me crazy but I get a little anxious if I run out. 
Diana
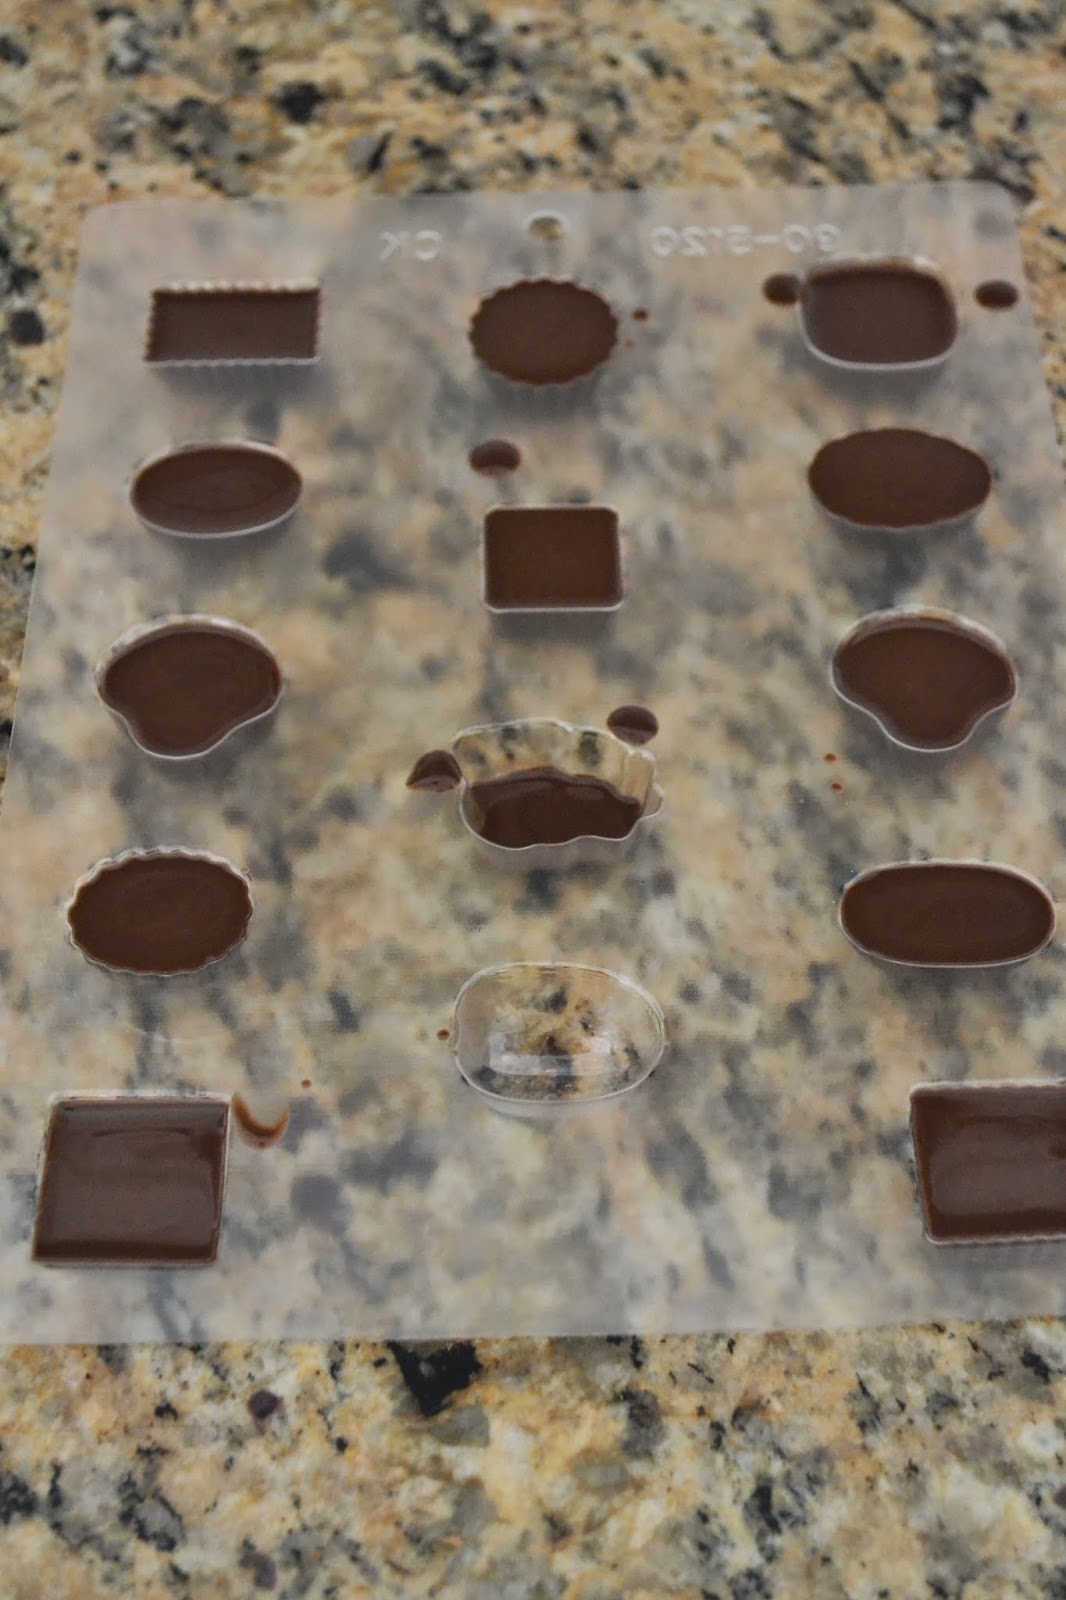
Monday, December 16, 2013

Easy Turtles

These dark chocolate turtles couldn't be easier and are so delicious!
Start by laying out four pecan halves in a cross pattern on foil or wax paper.  Heat some caramel until it is soft enough to spoon but not so hot that it is pourable.  Spoon a tablespoon of soften caramel onto center of pecans.  The caramel should slowly flatten into a smooth mound.  I melted some Bada Bing Bada Boom brand dark chocolate in a double broiler.  Using a spoon plop some chocolate on top and spread to cover the caramel.  Sprinkle a little sea salt on warm chocolate and let set in refrigerator until firm.  Sweet and salty, creamy, crunchy and chewy----yum!
Diana

Sunday, December 23, 2012

Peppermint Marshmallow Candy

Do you have time to make one more candy in time for Christmas?  I hope you do cuz these peppermint marshmallows covered in chocolate are to die for!!!!!!If you have never eaten a home made marshmallow you have been missing one of the best tasting treats on the planet.  So don't cheat and use store bought marshmallows.  You will be sad if you do......  I use a recipe from Martha (notice the first name basis, all be it one way, we are on).
After letting it set over night, I turned it out on a cornstarch and powdered sugar covered board.
Using a knife sprayed with Pam, I cut the marshmallows into about one inch squares.  Don't be too OCD about this, it is just candy not rocket science.
Then I melted some white chocolate from Chocoley which is a dream to work with.  No clumping, smooth and creamy without any wax added!  And it tastes delicious.
Each mashmallow is dipped in the white chocolate and allowed to dry with dipped side up.
After the white chocolate is set up, melt milk chocolate, also from Chocoley, and dip the other side of the marshmallow.  Be sure that none of the marshmallow is left without chocolate (either white or milk).
See what I mean about not worrying if the pieces aren't exactly the same size. 
Now just pipe some melted dark chocolate across the tops.  Now aren't you glad you made these!!!!  Diana