You have seen all the mercury glass projects on the net and have probably been on the hunt for the mirror finish spray paint.......and if you live in a rural area like me, you have yet to find it in your stores. So I improvised. And I am very happy with the results! I simply used some shiny silver and black spray paints I already had. The only thing I bought was a shell (2 bucks) from the craft store. First I sprayed the shell with the black paint and let it dry ( I found that putting the shell in my electric oven which was turned off but with the light on really sped up the drying). Then I sprayed shiny silver all over the shell, waited a few minutes and, using a plastic sandwich bag, I dabbed off a bit of silver. I kept repeating the black and silver coats, dabbing off paint until it looked "right". Let thoroughly dry. I then sprayed gloss clear finish on the shell. It took a few coats but finally it looked shiny enough to resemble glass.
 And I am very happy with the results! I simply used some shiny silver and black spray paints I already had. The only thing I bought was a shell (2 bucks) from the craft store. First I sprayed the shell with the black paint and let it dry ( I found that putting the shell in my electric oven which was turned off but with the light on really sped up the drying). Then I sprayed shiny silver all over the shell, waited a few minutes and, using a plastic sandwich bag, I dabbed off a bit of silver. I kept repeating the black and silver coats, dabbing off paint until it looked "right". Let thoroughly dry. I then sprayed gloss clear finish on the shell. It took a few coats but finally it looked shiny enough to resemble glass.
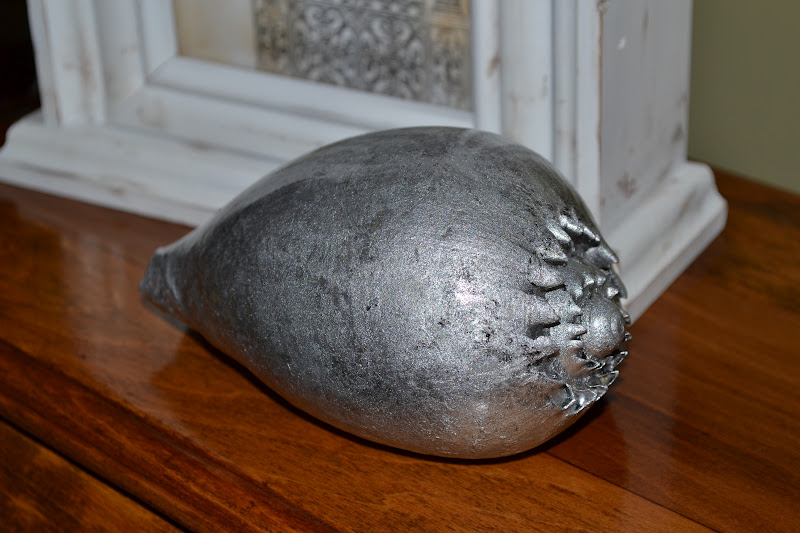 And I have never seen a mercury glass shell! Think of all the things you could turn into mercury glass.......ohhhhh, the possibilities are endless. Diana


.JPG)


