Sunday, September 15, 2013

1963 Yellowstone Travel Trailer Update

I've added a few things to "A Frayed Knot" over the last few days!  The little lamp, some knick knacks, and a bunting bring in more of our colors and make it oh so cozy.
 Here is the dining area.  The table cloth is vintage!
 The lamp has a nice glow.
 The yo yos look like pansies when back lit!
 
 My pink dishes are stashed in the cupboard.
 Here is our new bunting!  I made a total of 7, six for the shop and one for me!

We will start working on the kitchen soon, but for now I think it looks nice.  I also picked up the turquoise tray at Goodwill.  The teacup napkins rings were a gift from my mom.  The Spice rack is broken and will have to go when I put up the new quilted metal back splash.  It makes me sad but is it is too far gone.....  Hope you enjoyed the tour and check back for more updates!
Diana

Yo Yo Lamp

I have been drooling over a lamp over at The Beehive Cottage that was just sooo cute. Maryjane does such cool crafts!  Love her blog!  But back to the lamp.....I knew I could make one but first I had to find a sweet tiny lamp that I could redo!  Easier said than done.  Finally I found the perfect hobnail milk glass beauty at a thrift store for $1.00!  I then picked up a shade at Walmart for $4.00.  Next came the task of making enough yo yos in different sizes and colors.  Two evenings later and I was ready to put it all together.   
 Using fabric glue, I place the yo yos all over the shade until it was covered to my liking.  That's it, easy as pie, maybe even easier! 
Doesn't it look pretty.  I think it will find a new home in my little vintage trailer!
Diana

Saturday, September 14, 2013

What A Little White Paint Can Do

Someday I will remember to take before pics.......sigh.  Until then you will have to take my word for it, this chair used to be uuuug-ly.
 Now I love it!  So crisp looking with just a little shabby thrown in.


This chair will be going with me to a local craft fair in two weeks.  If it doesn't sell I might have to find a place for it in my house!
Diana

Friday, September 6, 2013

Banquet Cushions For the Vintage Camper


Yippee!  I finished the banquet cushions!  Had no idea what I was doing......but they turned out just fine!
Just in case you forgot what they looked like before......
 Looking better all the time.


I still have 5 more cushions to do.  I have to cut new foam (ugh!) because the old stuff is just too gross.  It is a little tricky cuz the cuts are soooo long.  Lots of room to make a costly mistake!  But until the new zippers (72 inches, not something you find at Walmart) arrive I am taking a break!  Well except for the awning I am making......
Diana


Thursday, September 5, 2013

First Cushion For The Trailer Done!

This morning I finished the first of many cushions for our vintage trailer!  Not as hard as I thought it would be and certainly do-able for a home sewer.  I put a long, upholstery zipper on one long end.  Because it is heavy duty (maybe overkill for this weight fabric) I had to cover the zipper so it wouldn't rub against things.  I do think I could have worried more about pattern match on the fabric but that was just too much pressure so I decided I wouldn't sweat it.....  Diana

Trailer Gets New Curtains

Please, please, please remember this is a work in progress......but I did want to try out the new curtains I had just sewn up and see how they would look.  I still need to get longer drapery hooks......then they will not be so close to the ceiling.
 And I am still waiting for the new cushion material to get here so I can lose those ugly yellow icky cushions!  I do have the new foam but I need to cut and then cover them. 
These were the old curtains.  It is hard to tell from this photo but they were rags.......sun faded and falling apart.
The fabric below is what the cushions will be covered in.
So exciting!
Diana


Wednesday, September 4, 2013

Shabby China Plates Redo

Do you have a few pieces of old china that are just taking up room in your cabinets?  Not enough pieces to set a table but too pretty to toss away?
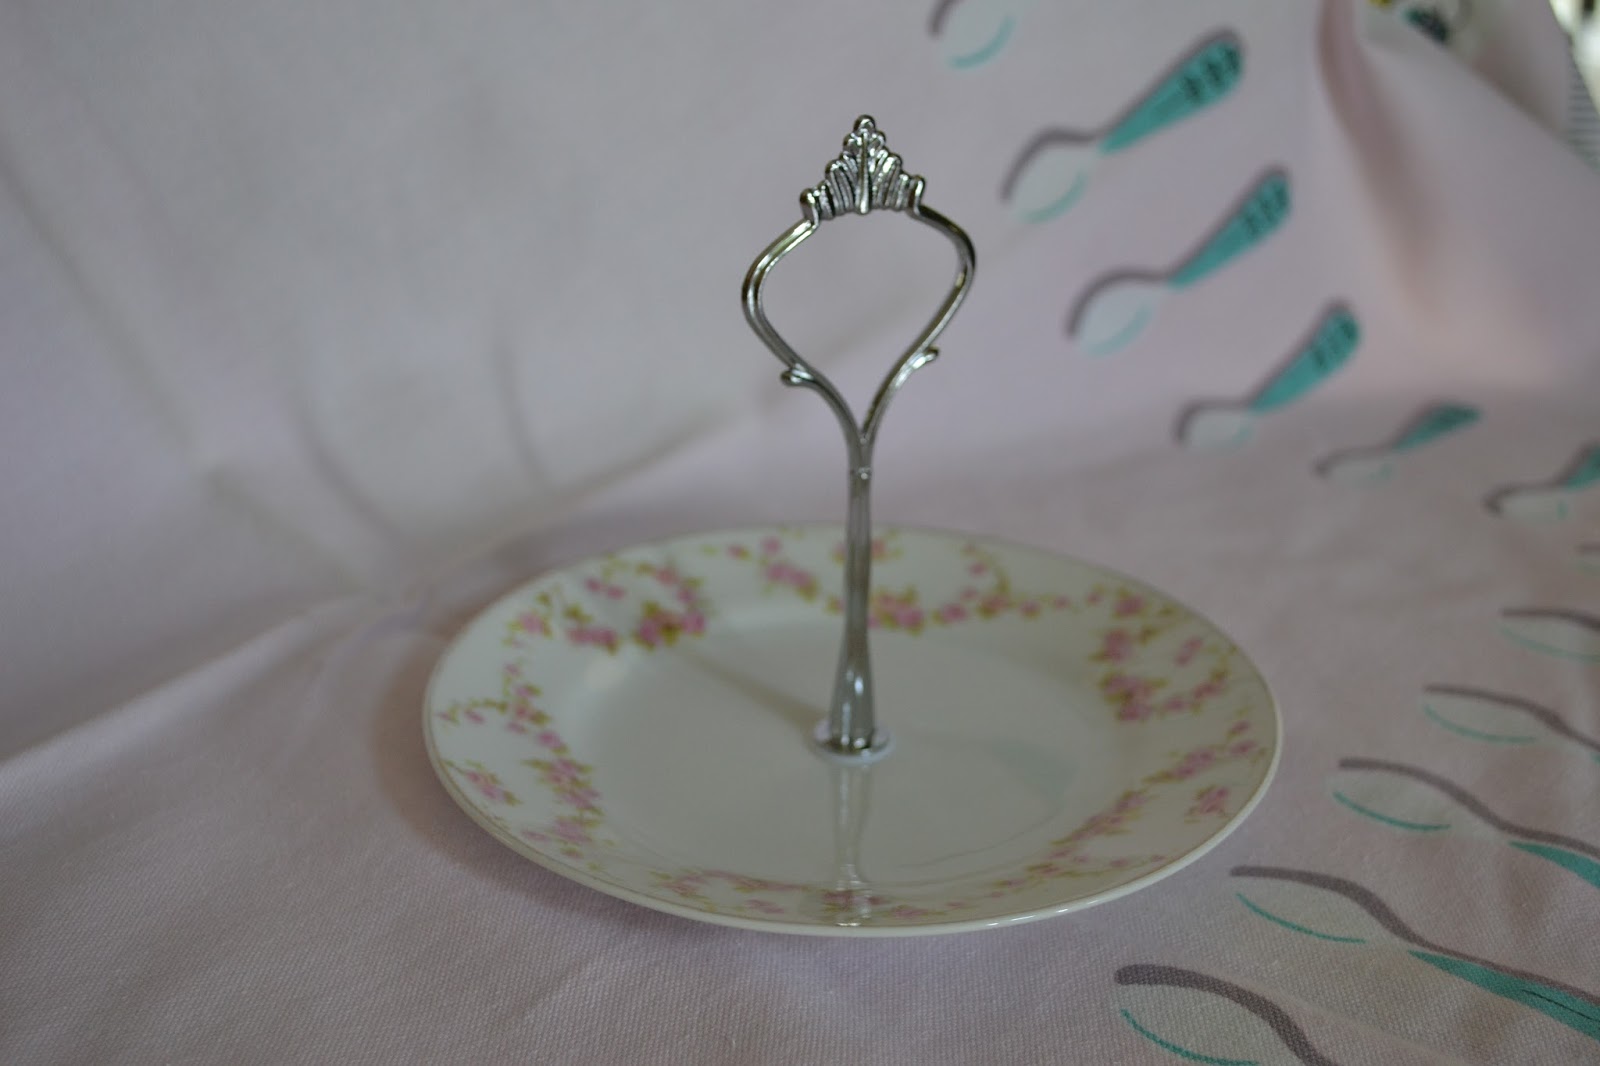
 With a drill and a bit of patience you can turn them into pretty dessert and sandwich stands, or maybe even jewelry holders!  Here are a few I have made in the last week.......  Above is one using a small dessert plate.
 Another dessert plate and dinner plate.
Small bowl and dinner plate.  If you want to make one you will need a 1/4 drill bit for glass and tile, Cake Stand Handle 2 Tier Silver Crown Center Rods Fitting (available on ebay) and some old dishes.
Mark the center of dish on back with sharpie pin.  Use a block of wood to support plate and start to drill.  Be careful at first as the bit may jump around on the plate until it nicks the surface.  I found that starting with a much smaller bit was easier.  Then I switched to the 1/4 bit after the hole was already started.

Switch to drilling from the front once the drill bit has just barely gone through the surface of the front.  That will limit the possibility of chipping the front of the plate surface.  Continue drilling until you have a neat 1/4 inch hole completely through the plate.
Assemble the stands using the rubber gaskets in the kit.  Clean everything off and you now have the prettiest little dessert stands ever!
Diana