I am all about quick and easy projects. Maybe it is because my skill levels can be sketchy or maybe it is because I don't have the attention span of a toddler.....whatever my issues are I love to do crafts don't take a whole lot of time or knowledge. If you can relate, here is a project you will love!

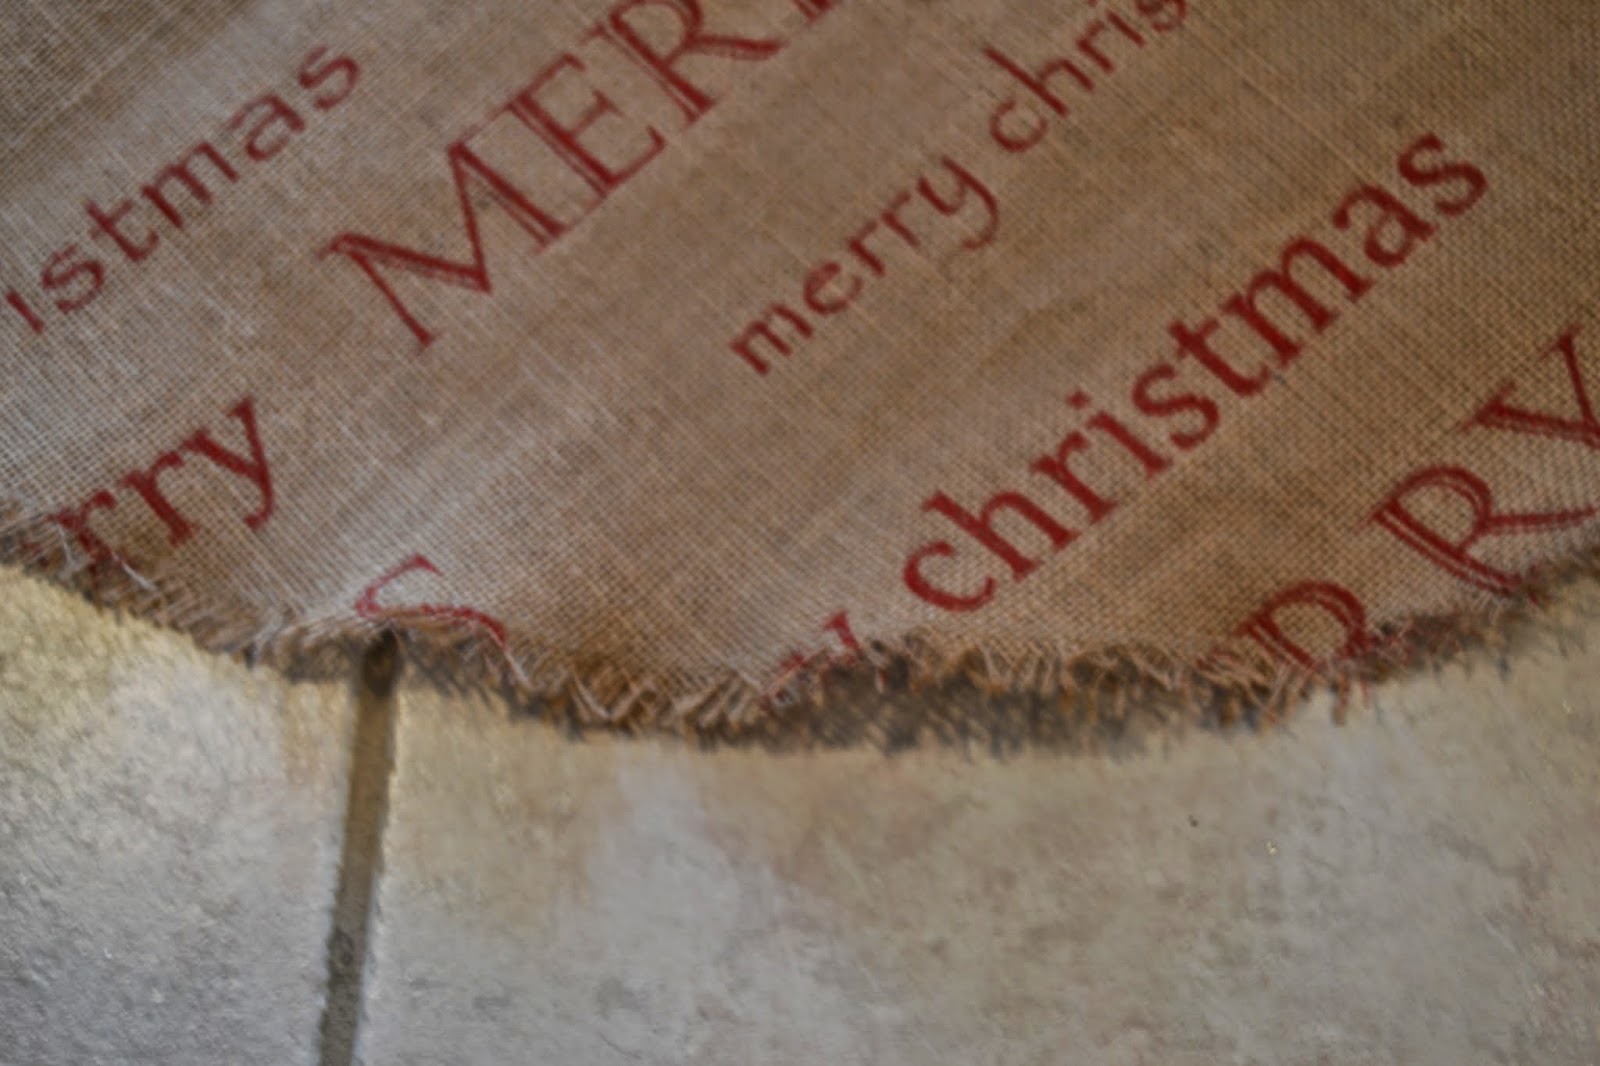
20 minutes to cut out, sew and display......how is that possible? Burlap. And did I mention this skirt is also inexpensive! I picked up some Christmas style burlap from Walmart (checking out took more time than it did to sew.....or trying to find someone in the fabric section to cut for me). I needed one and a third yards of fabric (1 1/3) for the skirt. I bought more fabric for a few other projects I hope to get to later.
Next I cut out a 44 inch circle using a string and some chalk for marking. Cut out a smaller 5 inch circle at the center. Cut a split down the back from outer edge to inner circle. You can see that step better in a later photo.
Now here is the easy part. Sew a zigzag stitch all around every cut edge. I did a 1 inch seam allowance but you don't have to be too picky. If you use thread that is the same color as your burlap you will hardly even see your stitches.
Attach some ribbon to the back. (You can see that I got real fancy and hemmed the back slit but you don't have to. Just zigzag those edges too) Now pull at the edges, unraveling the burlap up to your zigzag stitch. Trim any long threads and you are done!
Here is a picture of the skirt under the tree. You can see that the skirt has enough body to lay nicely over the tree stand. Love that it matches the burlap ribbon I am using this year. And yes the tree looks a little bare......I am still in the process of decorating it and am waiting til the snow melts so I can get to the barn for the ornaments.
I am going to use vintage ornaments with the burlap for a different look this year. It is also my first time to use an artificial tree. Got this lovely at my local craft store. I miss the smell of pine but it was so much easier to set up and I am not afraid of it falling over in the middle of the night.
Don't ask.....
Diana


