Saturday, November 22, 2014

20 Minute BurlapTree Skirt!

I am all about quick and easy projects.  Maybe it is because my skill levels can be sketchy or maybe it is because I don't have the attention span of a toddler.....whatever my issues are I love to do crafts don't take a whole lot of time or knowledge.  If you can relate,  here is a project you will love!

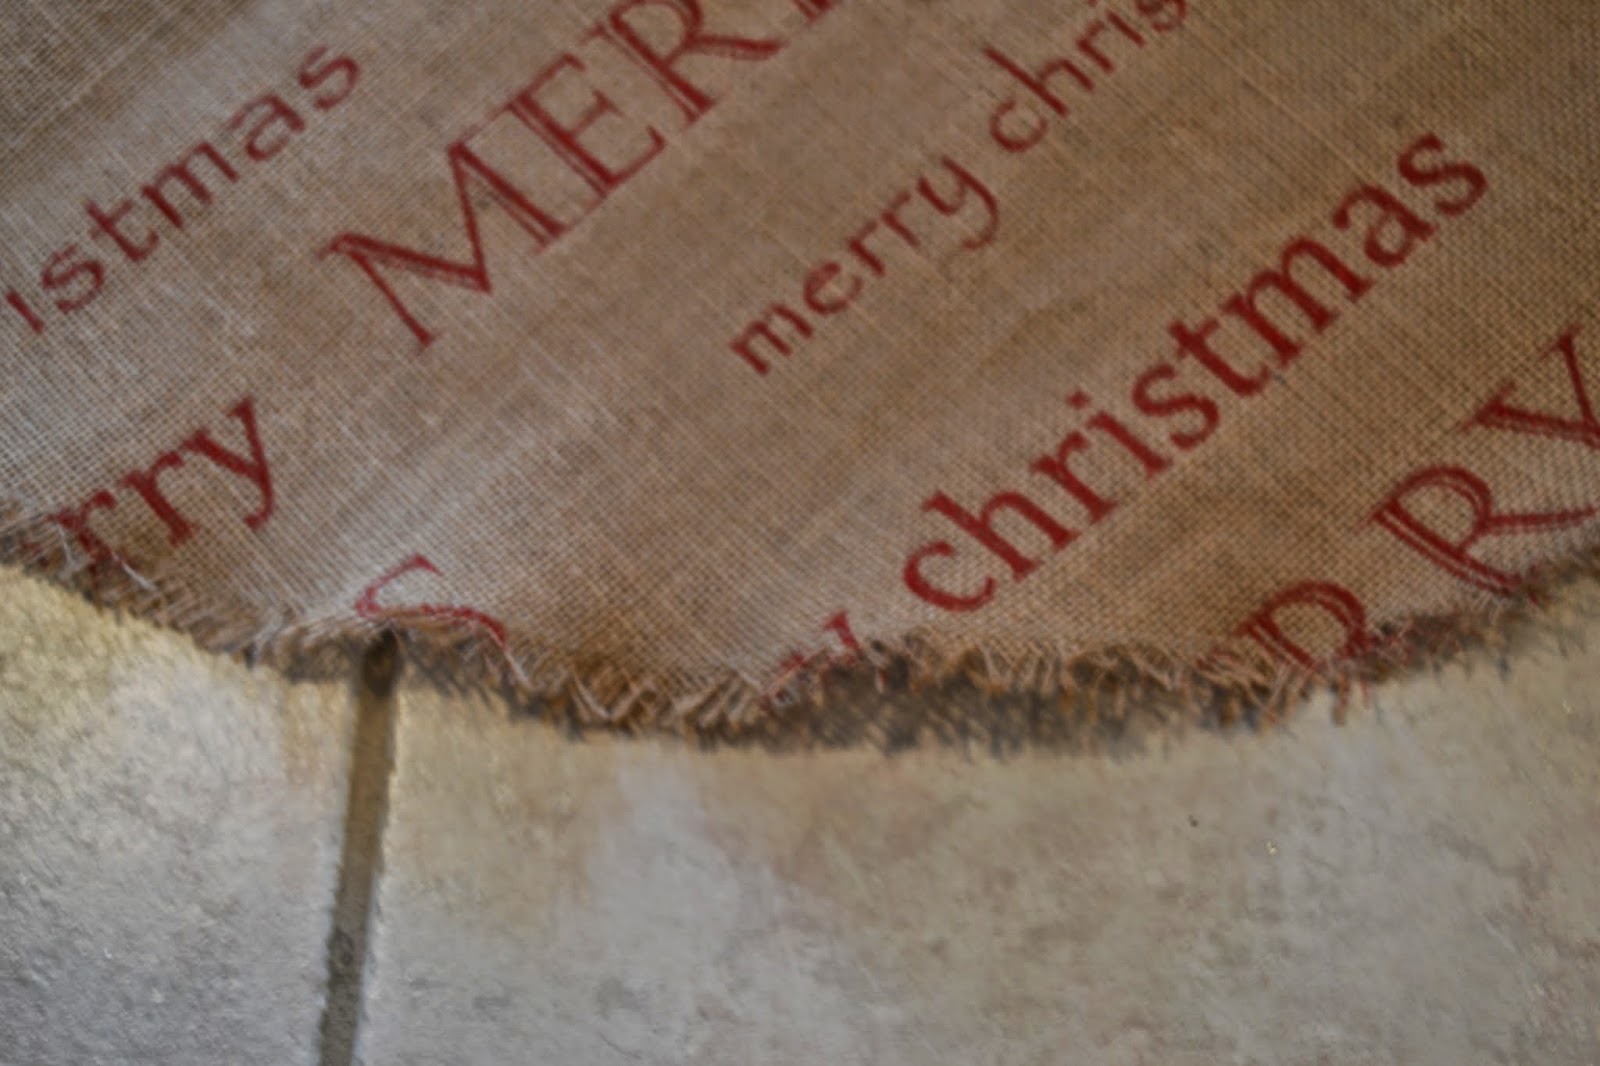
20 minutes to cut out, sew and display......how is that possible?  Burlap.  And did I mention this skirt is also inexpensive!  I picked up some Christmas style burlap from Walmart (checking out took more time than it did to sew.....or trying to find someone in the fabric section to cut for me).  I needed one and a third yards of fabric (1 1/3) for the skirt.  I bought more fabric for a few other projects I hope to get to later. 
  Next I cut out a 44 inch circle using a string and some chalk for marking.  Cut out a smaller 5 inch circle at the center.  Cut a split down the back from outer edge to inner circle.  You can see that step better in a later photo.
 Now here is the easy part.  Sew a zigzag stitch all around every cut edge.  I did a 1 inch seam allowance but you don't have to be too picky.  If you use thread that is the same color as your burlap you will hardly even see your stitches.
 Attach some ribbon to the back.  (You can see that I got real fancy and hemmed the back slit but you don't have to.  Just zigzag those edges too)  Now pull at the edges, unraveling the burlap up to your zigzag stitch.  Trim any long threads and you are done!

 Here is a picture of the skirt under the tree.  You can see that the skirt has enough body to lay nicely over the tree stand.  Love that it matches the burlap ribbon I am using this year.  And yes the tree looks a little bare......I am still in the process of decorating it and am waiting til the snow melts so I can get to the barn for the ornaments.  

I am going to use vintage ornaments with the burlap for a different look this year.  It is also my first time to use an artificial tree.  Got this lovely at my local craft store.  I miss the smell of pine but it was so much easier to set up and I am not afraid of it falling over in the middle of the night.
Don't ask.....
Diana

Monday, November 10, 2014

Tumbling Block Quilt

What do you do with a lot of charms left over from other projects?  Make a tumbling block quilt of course!
 I had a quite a few charms from several different lines of fabric.  I wasn't sure that they went together but when I paired them with a ton of white it all seemed to work out.  I think it looks rather modern and fresh.
 I machine quilted the white areas and stitched in the ditch around the charms.
 The fabric on the back is an overall floral print.
I used the same fabric to bind it with.  This quilt was made for one of my husband's assistant in China.  She was a great guide while we were there last month and I wanted to make her something that would show our gratitude.  Can't wait to hear if she likes it!
Diana 

Friday, October 24, 2014

Easy Halloween Cards From Shutterfly.

Did any of you take advantage of the free offer Shutterfly had a few weeks ago?  I decided to have cards made up for Halloween using some images I had created.  The first is of one of my girls.....doesn't she look wicked?
 The next image was one I made of the legendary Hitchcock.

Feel free to use either image yourself or create your own!


Shutterfly walks you through the process of uploading the cards and adding sentiment.  Super easy!


This was so much faster than making cards myself and they are totally unique from any store bought ones.  Gotta love that.
Diana

Thursday, October 23, 2014

Light As Air Cookies---Only 10 Calories!

I have been trying to eat healthier, exercise daily and lose weight for the last three months (27 pounds lost so far!).  I am finally seeing some results which has me excited.  One of the downsides of this new lifestyle though is not being able to eat some of my favorite desserts.....so sad.  But I have found a cookie recipe that let's me have a little (or, on a bad day, a lot of) sweet during the day without any worries.  These delicious cookies have only 10 calories a piece so you can eat quite a few!
The recipe is from Taste of Home and is very easy.  There is some wait time so start these a few hours before you need them and you will be fine!

Vanilla Meringue Cookies Recipe

Ingredients

  • 3 egg whites
  • 1-1/2 teaspoons clear or regular vanilla extract
  • 1/4 teaspoon cream of tartar
  • Dash salt
  • 2/3 cup sugar

Directions

  1. Place egg whites in a small bowl; let stand at room temperature 30 minutes.
  2. Preheat oven to 250°. Add vanilla, cream of tartar and salt to egg whites; beat on medium speed until foamy. Gradually add sugar, 1 tablespoon at a time, beating on high after each addition until sugar is dissolved. Continue beating until stiff glossy peaks form, about 7 minutes.
  3. Cut a small hole in the tip of a pastry bag or in a corner of a food-safe plastic bag; insert a #32 star tip. Transfer meringue to bag. Pipe 1-1/4-in. diameter cookies 2 in. apart onto parchment paper-lined baking sheets.
  4. Bake 40-45 minutes or until firm to the touch. Turn off oven (do not open oven door); leave meringues in oven 1 hour. Remove from oven; cool completely on baking sheets. Remove meringues from paper; store in an airtight container at room temperature. Yield: about 5 dozen.
Yum Yum
Diana

Thursday, October 16, 2014

Spent the other day out at the cabin doing a little more work on the bathroom.  I painted the rest of the walls gray, sealed the tile and hung up the new shower curtain.  I still have a bit more to do but it is really looking like a real bathroom now!
 Went with a clear shower curtain so the room looks bigger.
 Plus you can see the cool tile we put in at eye height!
 We put in a soap holder......I don't mind the shampoo sitting on the floor but keeping soap down there is just icky.
 Here is a view of the sink and toilet.  You can see how small the bathroom's footprint is from this picture.  The shower tile is on the left lower corner.
 The window adds a lot of light.  At first the bathroom was windowless but my husband added it and I love it now.  You can also see the tile floors.  Soon we will have the baseboards in.
  
Anyone else think this is a pretty cool bathroom for a cabin?  Just wait til I add a few more touches!
Diana

Wednesday, October 15, 2014

Creepy Banner


I didn't add too many new things to our Halloween decor this year......but one thing I threw together at the last minute was this creepy banner for the mantle.
I printed some images from The Graphics Fairy and just added a little ink to aged the cards.
 Tiny clothes pins from the craft section at Walmart hold the cards on a long piece of twine.  Couldn't be easier but still adds a huge element to the Gothic look I was going for.
Diana

Thursday, October 9, 2014

One Last Plate

Have you seen the cute little doily plates from IKEA?  Well, I added a handle to it and now I have yet another dish to serve treats in or hold bedside junk.  I have also run out of the handle hardware I bought on Ebay so you won't be seeing anymore of these projects for a while.....

Diana

Wednesday, October 8, 2014

Tiered Plates

Cheap plastic plates and leftover hardware from a previous project add up to a fun little "use what you have" craft day!
I picked up these two plastic plates last year at Target on the sale shelf for almost nothing.
 Won't this be cute as a gift or on the Fourth of July tablescape?  Took all of about five minutes to make so instant gratification!
Diana

Tuesday, October 7, 2014

Make It Do!

I don't do much hand embroidery anymore.  Once I found out that an embroidery machine could do it better and quicker, I put away my floss and hoops and bought a machine.  I never looked back until I saw this adorable pattern . Even though it wasn't available for machine embroidery and needed to be done the old fashion way, I knew I had to try it!
 It took a few evenings to make and my skills were definitely rusty.  My stitches could have been evener and I did stress a bit about that.....then I decided that my efforts were good enough and to just relax and enjoy the process!
 Isn't it the sweetest thing you ever saw?  If you want the pattern you can get it at Sarahjanestudios and make your own.  I promise you will love it!
Diana

Thursday, October 2, 2014

Almost Completed!

First of all let me apologize for the poor lighting.  It was a overcast kind of day!  I hope to go out to the cabin in a few days and finish painting the bath AND get some new pics.
 I moved things around a bit and got a new trunk for a coffee table.  Made by the local Amish it is cedar lined.  It is also made from reclaimed barn wood.
 We got the shower tiled, the new slate floor in, and all the fixtures installed!  Don't know why I didn't take a pic of the accent tile in the shower........
 Teeny tiny sink.
Slate floor with a ton of sealer on it.
We still need to finish some molding and a bit of painting.  We also want to make a mason jar ceiling fixture, make new curtains, hang a shower rod and curtain, and install a medicine cabinet.  But at least it is operational again!
Diana

Wednesday, October 1, 2014

China

Sorry I haven't posted anything lately but we went on a dream vacation to China.  Will have a few posts ready soon!  Diana
At P1 of the Clay Soldiers excavations!

Sunday, August 17, 2014

A Few New Additions to the Cabin

One thing we were missing out at the cabin was some comfy seating.  We decided to get a sleeper sofa so we'd get the seating and an extra place for more people to sleep.  We also bought a super soft bed for the loft!  Our first night on the bed was so nice.  Beats the blow up mattress we had been using.
 I also sewed up a simple skirt for the area that houses the fridge and microwave.
 I used route 66 fabric that I bought when we first started working on the cabin.
 I just love our sweet little kitchen. 
A few days ago I spent the day here all by myself.  I had a good book with me and a picnic lunch.  The windows let in a cool breeze and I even took a nice long nap on the couch.  Perfect day.  
Diana

Wednesday, July 16, 2014

Ideas, Please.

The last few months of school, as I walked by our maintenance dept., I kept seeing a library card catalog sitting in the middle of the concrete floor.  Day after day I would peek through the 5" x 24" window to make sure it was still there.
 
Finally, I decided to ask our custodian if I could have it.  He said he was on using it for his drink holder, and he was thinking about using it to store nuts and bolts in.  NUTS AND BOLTS! Luckily, he is a wonderful man who saw my vision and offered to deliver it to my house the next day.  You can't beat free furniture and free delivery.

 
So now I have this marvelous storage unit.  It is 4 modular units stacked together, so I can arrange them however I choose.  There are even two pull out trays.  All I need to do is turn it into my dream sewing cupboard.  The 25 drawers are the perfect size for scissors, threads, and anything else I can think of. 
 
This is what I'm thinking, but I would love your ideas.  For now it sadly sits in the corner waiting for some love.
 
Picture from Pinterest

Tuesday, July 15, 2014

Camper's First Overnighter

In the yesterday's post I showed you some of the projects we completed at the cabin in preparation for Girl's Pre-camp.  Today I will show you a few pictures of A Frayed Knot on her first over-nighter.  My daughter Jenn and her husband stayed in the camper during pre-camp while the other adults and the girls stayed in the cabin or in tents.
 Here is the camper all set up.
 Outdoor rug is from IKEA..
 The couch was turned into a bed with soft white sheets and an antique quilt.  The suitcases that normally serve as night stands tuck under the bed.
The camper was parked in the field near the cabin.  After setting everything up we took our grandson to the airport and did a fly over.
You can just make out the cabin just off the wing.  It was a lot of work to get everything ready but I love a dead line.  You always seem to get so much more done when you are under pressure.  And we were so glad to be able to share our getaways with the sweet young women in our daughter's ward.
Diana

Monday, July 14, 2014

Cabin Update

What a week!  Between getting the camper ready for her first overnight and doing some last minute projects out at the cabin, we are all exhausted!  Both were used this last weekend for pre-camp.  I will walk you through some of the improvements.
 We did a lot of paneling including the kitchen ceiling.  We also changed the layout of some of the furniture.  The table was moved into the kitchen to make room for the new sleeper sofa which I forgot to get a picture of.
 It is so nice to not see insulation and framing anymore.
 The bathroom got green board put up in preparation for tile, mud and paint.  We went ahead and hung some curtains for privacy.
The sink drain pipes were connected to the septic line.  That meant the sink could go in.  Of course all this will have to come back out to mud and paint but until then we are enjoying having a sink.  Next on the honey do list is hooking up the shower drain, finishing the bathroom and then putting up more paneling in the entry area.  Once that is done we will put down the bamboo floors and do all the trim.  We can actually see an end to this.  Whew!
Diana